How to connect to Stripe Payment API with Make automation

Connecting to the Stripe Payment API with Make automation can transform your payment processing. Stripe offers a set of programmable APIs and tools that facilitate payments globally. Integrating Stripe with Make ensures seamless transactions and compliance. According to a survey, 69% of Stripe users report improved efficiency by 25% or more. Businesses using Stripe have also seen a 140% increase in revenue growth. NewOaks AI can leverage this integration to streamline financial operations and reduce administrative burdens. Connect to Stripe Payment API today to enhance your business's transactional capabilities.
Connect to Stripe Payment API: Step-By-Step Guide

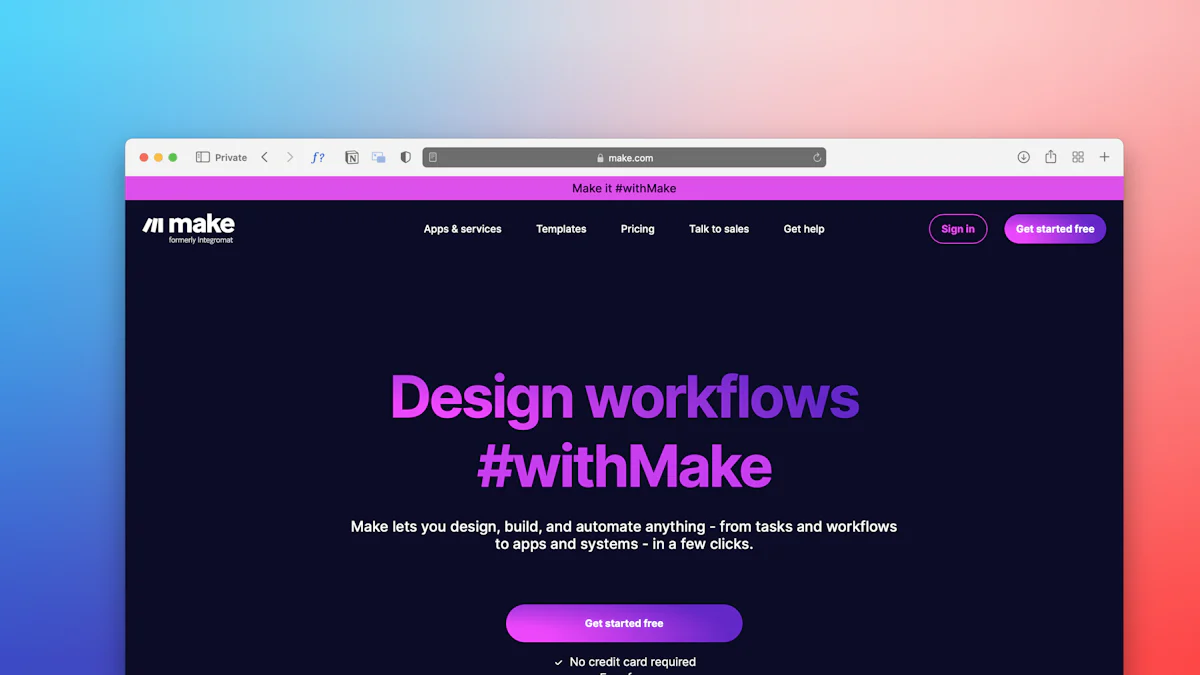
Step 1: Logging into Your Make Account
Accessing the Make Platform
First, access the Make platform by navigating to the Make website. Use your credentials to log in. The login process is straightforward and secure.
Dashboard Overview
After logging in, you will see the dashboard. The dashboard provides an overview of your scenarios and modules. Familiarize yourself with this interface to streamline your workflow.
Step 2: Creating a New Scenario
Starting a New Scenario
Click the "Create a New Scenario" button on the dashboard. This action will initiate a new scenario setup. A new window will appear, allowing you to configure your scenario.
Adding the First Module
Click the "+" icon to add the first module. Search for "Webhook" and select "Custom webhook" as the trigger. Click the "Add" button, name your webhook, and save it. The system will generate a URL. Copy this URL and paste it into the NewOaks AI Payment URL field.
Step 3: Setting Up Webhooks
Creating a Webhook
To create a webhook, click the "+" icon again. Search for "Stripe" and select the Stripe app. This step will connect the webhook created earlier with Stripe. In the connection section, click "Add" to input your Stripe API key. Save the connection data.
Testing the Webhook
Test the webhook by clicking the "Run Once" button. Go back to your NewOaks AI account and click the "Verify Payment API" button. This action will fetch initial data and verify the webhook functionality.
Step 4: Configuring the Stripe API
Accessing Stripe Dashboard
First, access the Stripe dashboard. Log in using your Stripe credentials. The dashboard provides a comprehensive view of your account activities. Navigate to the API section to proceed.
Creating API Keys
Create API keys to connect to Stripe Payment API. Click on "API Keys" under the Developers tab. Generate a new secret key. Copy this key and store it securely. This key will be essential for integrating Stripe with Make.
Step 5: Integrating Stripe with Make
Adding the Stripe Module
Return to the Make platform. Click the "+" icon to add a new module. Search for "Stripe" and select the Stripe app. This module will facilitate the connection between Make and Stripe.
Configuring Payment Actions
Configure payment actions within the Stripe module. Input the API key generated earlier. Select the desired actions, such as creating a payment or subscription. Save the configuration to finalize the setup.
Step 6: Verifying the Setup
Running the Scenario
Run the scenario to test the integration. Click the "Run Once" button on the Make platform. This action will initiate the workflow and execute the configured actions.
Confirming Successful Integration
Verify the successful integration by checking the results. Go back to your NewOaks AI account. Click the "Verify Payment API" button. A confirmation message will indicate that the integration works correctly.
Following is the instructions that connect to NewOaks Chatbot with Stripe Payment API via Make:
Step 1.
Login to your Make account
Click “Create a New Scenario” button to create a new scenario,
Step 2.
Click “+” to add the trigger:
Search “Webhook” and choose “Custom webhook” for the trigger

Click “Add” Button shown the below screenshot, add a name in “Webhook name” textbox, click “Save” button, it will generate a URL, click “Copy address to clipboard” and paste into NewOaks Payment URL


Step 3.
Click “+” to add a new APP, search “Stripe” and choose the Stripe APP to automatically connect to “Webhook” in step 2

Config Stripe API:
In Connection section, click “Add” button to add Stripe API key from your Stripe account, then “Save” the connection data.

Add URL “/v1/Prices” in the URL field and choose “GET” method

Step 4.
Click “+” to add another Stripe API Call

Click “Run Once” button, then go back to NewOaks account, Click “Verify Payment API” button to get Initial data


Fill in the values shown in below screenshot, click “Ok” button to save the data:
URL: v1/checkout/sessions
Method: POST
BODY: mode=subscription&line_items[0][quantity]=1&line_items[0][price]={{3.body.data[].id}}&success_url={{4.SuccessUrl}}&cancel_url={{4.CancelUrl}}&subscription_data[metadata][order_id]={{4.OrderID}}&subscription_data[metadata][user_id]={{4.UserID}}
Highlighted Body values are from the popup window, please make sure no space in the payload

Step 5.
Click “+” to Add a Webhook Response

BODY: {"Data": {"OrderID": "{{4.OrderID}}","URL": "{{6.body.url}}"},"Success": true,"Message": "","Version": "1.0","Code": 200}

Highlighted Body values are from the popup window

Step 6
Click “Run Once” button again, then go back to NewOaks account, Click “Verify Payment API” button, it will display “API Test Passed” Message , Click “Save” button to finish the 3rd party payment setup

Recap the integration process to ensure clarity. Use Make automation with Stripe to streamline payment operations. Enjoy benefits like reduced manual tasks and increased efficiency. Explore further automation possibilities to enhance business processes. Embrace the power of automation for a competitive edge.
See Also
Enhancing Customer Support with Stripe Integration in Live Chat
Optimizing Website Communication with Twilio Chatbot API
Maximizing Efficiency: Intercom and Slack Integration via Zapier
Creating a Step-by-Step Guide for ChatGPT and Zapier ChatBot

