How to integrate make.com with Shopify to create a chatbot for ecommerce

Chatbots have revolutionized ecommerce by enhancing customer engagement and streamlining operations. Business leaders report that chatbots have increased sales by 67% on average. The NewOaks AI Ecommerce Chatbot exemplifies this trend, offering a seamless integration that improves customer service and boosts revenue.
Make.com and Shopify stand out as powerful platforms for ecommerce. Make.com allows users to integrate Shopify with over 1000 apps, creating automated workflows. Shopify, a leading ecommerce platform, offers robust APIs for efficient integrations.
Integrating Make.com with Shopify to create a custom ChatGPT chatbot brings numerous benefits. This integration can automate customer interactions, improve lead generation, and enhance the overall shopping experience. With 84% of businesses believing in the importance of AI chatbots, now is the time to elevate your ecommerce strategy with the NewOaks AI Ecommerce Chatbot.
Setting Up Your Accounts
Creating a make.com Account
Step-by-step guide to sign up
Begin by visiting the Make.com website. Click on the "Sign Up" button located at the top right corner of the homepage. Fill in your email address and create a strong password. Click on "Create Account" to proceed.
A verification email will be sent to your provided email address. Open the email and click on the verification link. This action will confirm your email address and activate your account.
Verifying your email
Check your inbox for the verification email from Make.com. If you do not see it, check your spam or junk folder. Click on the verification link within the email. This step is crucial for activating your account and gaining full access to Make.com's features.
Setting Up Your Shopify Store
Creating a Shopify account
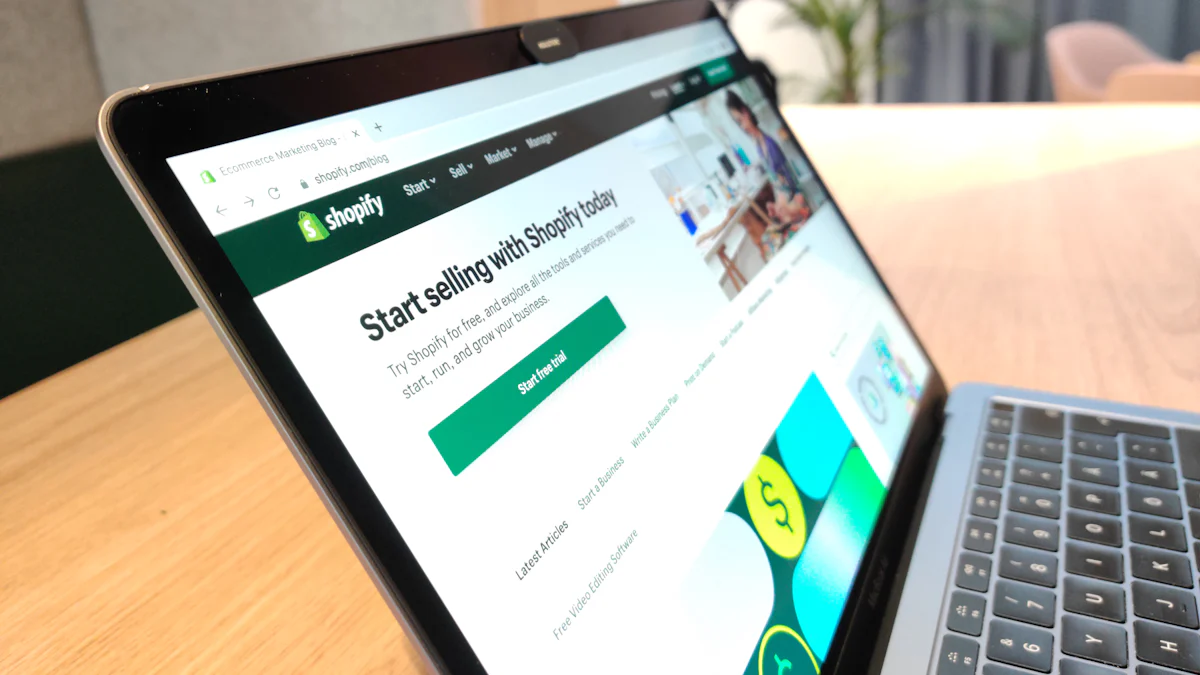
Visit the Shopify website and click on the "Start Free Trial" button. Enter your email address, create a password, and choose a store name. Click on "Create Your Store" to proceed.
Shopify will ask a few questions about your business. Answer these questions to help Shopify tailor your experience. After completing the questions, click "Enter My Store" to access your new Shopify dashboard.
Configuring basic store settings
Navigate to the "Settings" tab on your Shopify dashboard. Here, you can configure essential settings for your store. Start by entering your business information, including your address and contact details.
Next, set up your payment methods under the "Payments" section. Choose from various payment gateways like PayPal, Stripe, or Shopify Payments. Configure your shipping settings by specifying shipping zones and rates under the "Shipping and Delivery" section.
Finally, customize your store's appearance by selecting a theme from the "Online Store" tab. Shopify offers a variety of free and paid themes to match your brand's aesthetic. Once you have completed these steps, your Shopify store will be ready for integration with Make.com.
Integrate make.com with Shopify
Connecting make.com to Shopify
Navigating to the integration settings
To integrate make.com with Shopify, start by logging into your Make.com account. Navigate to the dashboard and locate the "Apps" section. Click on it and search for "Shopify." Select the Shopify app from the list of available integrations.
Once inside the Shopify app page, find the "Integration Settings" button. Click on it to proceed. This action will direct you to a new page where you can configure the connection between Make.com and Shopify.
Authorizing the connection
Authorization is a crucial step to integrate make.com with Shopify. On the integration settings page, click on the "Authorize" button. This action will prompt a new window asking for your Shopify store credentials.
Enter your Shopify store URL and click "Next." You will be redirected to Shopify's login page. Log in using your Shopify admin credentials. Shopify will request permission to allow Make.com access to your store data. Click "Allow" to grant the necessary permissions. The connection between Make.com and Shopify is now authorized.
Configuring Integration Settings
Selecting the data to sync
After authorizing the connection, return to the Make.com dashboard. Navigate back to the Shopify app within Make.com. Click on "Settings" to configure the integration.
Select the specific data you want to sync between Shopify and Make.com. Options include customer information, orders, products, and inventory levels. Choose the data points that align with your business needs. Confirm your selections to proceed.
Setting up triggers and actions
Setting up triggers and actions is essential for automating workflows. In the Make.com dashboard, navigate to the "Scenarios" section. Click on "Create New Scenario" and select Shopify as the trigger app.
Define the trigger event, such as "New Order" or "Updated Customer." Next, choose the corresponding action in Make.com, like "Send Email" or "Update Inventory." Configure the action settings to match your desired outcomes. Save the scenario to activate the automation.
By following these steps, you can successfully integrate make.com with Shopify. This integration will streamline your e-commerce operations and enhance customer interactions through automated workflows. Elevate your business strategy by leveraging the power of custom chatgpt chatbots.
Creating the Chatbot

Designing the Chatbot Workflow
Defining chatbot objectives
Start by identifying the primary goals for your NewOaks AI Ecommerce Chatbot. Determine whether the chatbot will handle customer inquiries, assist in product searches, or facilitate order tracking. Clear objectives will guide the design and functionality of the chatbot.
Mapping out conversation flow
Create a detailed map of the chatbot’s conversation flow. Outline the various paths users might take when interacting with the chatbot. Include common questions and appropriate responses. Use tools like flowcharts to visualize the interaction paths. Ensure that the conversation flow aligns with the defined objectives.
Implementing the Chatbot in make.com
Using make.com tools to build the chatbot
Log in to your Make.com account. Navigate to the dashboard and select the "Scenarios" section. Click on "Create New Scenario" and choose the Shopify app as the trigger. Define the trigger event, such as a new customer inquiry. Next, add actions that the chatbot will perform in response.
Use Make.com's guidelines and tools to build the chatbot. Configure the chatbot to handle different types of customer interactions. Customize the responses to match your brand’s tone and style. Ensure that the chatbot can access necessary data from your Shopify store.
Testing the chatbot functionality
Before deploying the chatbot, conduct thorough testing. Simulate various user interactions to ensure the chatbot responds correctly. Check for any errors or issues in the conversation flow. Make adjustments as needed to improve the chatbot’s performance.
Deploy the NewOaks AI Ecommerce Chatbot on your Shopify store once testing is complete. Monitor its performance and gather user feedback. Use this information to make further improvements and optimize the chatbot’s functionality.
Deploying the Chatbot on Shopify
Adding the Chatbot to Your Shopify Store
Embedding the chatbot code
To embed the NewOaks AI Ecommerce Chatbot into your Shopify store, start by logging into your Make.com account. Navigate to the "Scenarios" section and locate the scenario you created for the chatbot. Click on the "Embed" option to generate the chatbot code.
Copy the generated code. Log into your Shopify admin dashboard. Navigate to the "Online Store" section and select "Themes." Click on "Customize" and then choose "Edit Code." Find the appropriate file where you want to embed the chatbot, such as theme.liquid or footer.liquid. Paste the copied code into the desired location. Save the changes to finalize the embedding process.
Customizing the chatbot appearance
Customizing the appearance of the NewOaks AI Ecommerce Chatbot ensures that it aligns with your brand's aesthetic. Return to the Make.com dashboard and navigate to the chatbot settings. Here, you can adjust various visual elements, including colors, fonts, and button styles.
Choose colors that match your brand’s palette. Adjust the font style to ensure readability and consistency with your website. Customize the chatbot's welcome message to create a friendly and engaging first impression. Save your changes and preview the chatbot on your Shopify store to ensure everything looks perfect.
Monitoring and Optimizing the Chatbot
Tracking chatbot performance
Monitoring the performance of the NewOaks AI Ecommerce Chatbot is crucial for ongoing optimization. Use the analytics tools provided by Make.com to track key metrics such as user interactions, response times, and conversion rates.
Log into your Make.com account and navigate to the "Analytics" section. Review the data to identify patterns and trends. High interaction rates and quick response times indicate effective performance. Low conversion rates may suggest areas for improvement.
Making improvements based on user feedback
User feedback provides valuable insights for enhancing the chatbot's functionality. Encourage customers to share their experiences with the NewOaks AI Ecommerce Chatbot. Use surveys, feedback forms, or direct inquiries to gather this information.
Analyze the feedback to identify common issues or suggestions. Make necessary adjustments to the chatbot’s conversation flow, responses, or features. Regularly update the chatbot to incorporate new improvements. This iterative process ensures that the chatbot continues to meet customer needs and enhances their shopping experience.
Testimonial: "Super happy to see you're leveraging the power of our chatbots to empower your Shopify store."
Testimonial: "The best chatbot for Shopify stores, completely intuitive and dynamic, the impression we have is that we are really talking to a human. Congratulations!!!"
By following these steps, you can successfully deploy and optimize the NewOaks AI Ecommerce Chatbot on your Shopify store. This powerful integration will enhance customer engagement, streamline operations, and boost sales.
Integrating Make.com with Shopify to create a chatbot involves several straightforward steps. This process includes setting up accounts, connecting platforms, and deploying the chatbot. The NewOaks AI Ecommerce Chatbot offers immediate and personalized assistance. This feature enhances customer engagement and creates a user-friendly shopping experience. Chatbots streamline interactions, save money, and improve customer service efficiency. Start the integration today to elevate your ecommerce strategy. Boost sales and enhance customer satisfaction with the NewOaks AI Ecommerce Chatbot.
See Also
Personalize Shopify Messaging with Artificial Intelligence Bots
2024: Improve Shopify Store with AI Bots for Instant Customer Assistance
Incorporating Stripe into Live Messaging for Customer Assistance
The Definitive Manual for Chatbot API Fusion in 2024
The Complete Handbook for Embedding a Chat Widget for Enhanced Customer Care